Follow these instructions to install T1V on a Window's device. Once installed, your T1V should work instantly.
If you have any issues screen sharing, or sharing your Camera or Microphone in the T1V app, ensure you have enabled the following settings:
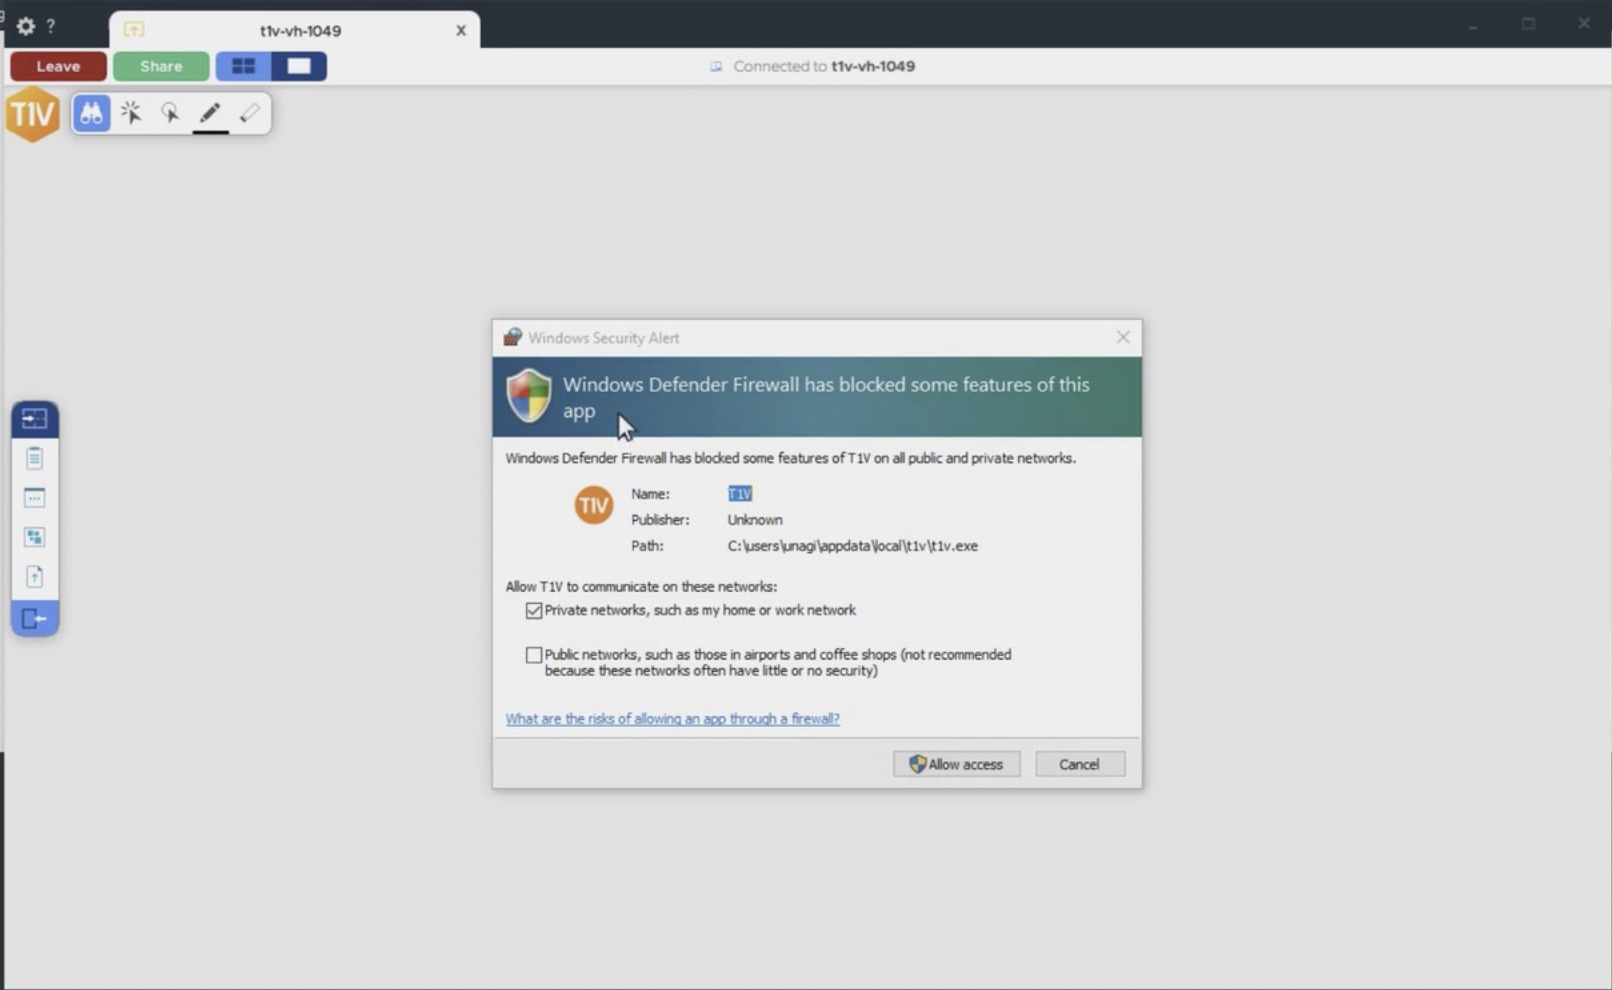
Windows 10 devices have a built-in Windows defender pop-up. You may need to check your settings to prevent this from popping up when you share your screen or access your camera or microphone. You can select 'Allow Access' to give the T1V app the access it needs to share your screen, camera, or microphone.
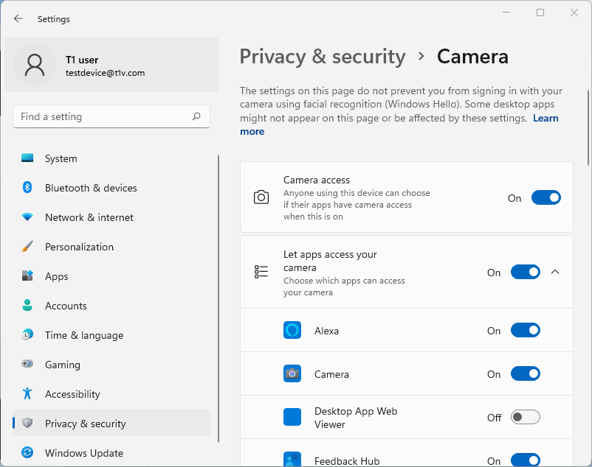
In order to enable these settings, navigate to your Windows Home > Settings > Privacy and Security > Camera.
Navigate to 'Let desktop apps access your camera' and make sure T1V is selected.
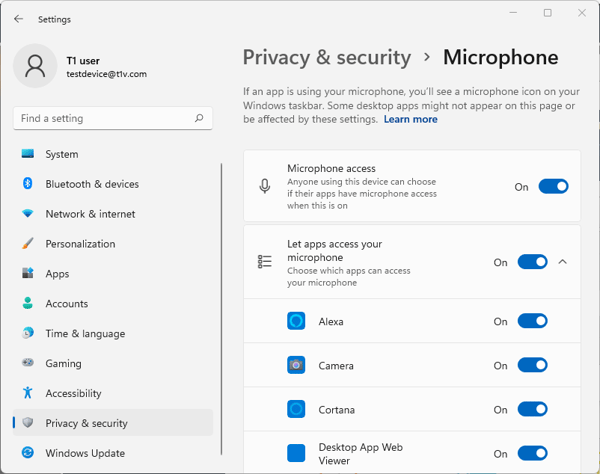
Under the same Privacy & Security settings, locate the "Microphone" section and ensure T1V is toggled on.
Windows 11 users will need to do the above the steps (enable Camera and Microphone) as well as enable two additional Settings 'Screenshot borders' & 'Screenshot and apps'.
If these settings are enabled and you are still having trouble sharing your screen, camera, or microphone, please contact T1V Support at support@t1v.com.