Once you've downloaded your T1V app, you may register your device to see upcoming meetings and have access to your ThinkHub Cloud canvases.
The first time you connect to a room or open a cloud canvas and select 'Share Screen', you will likely see a pop-up asking you to enable the T1V app to access your screen. It should open the permissions for you and prompt you what needs to be enabled. This workflow could change due to antivirus software or pop-up blockers installed on your device.
If you'd like to manually pre-configure these permissions on a Mac OS computer, you can do so with the following steps (for Windows devices, refer to this article):
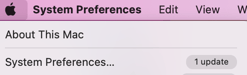
1. Select the apple icon in the upper left of your desktop and selecting System Preferences > Security and Privacy.
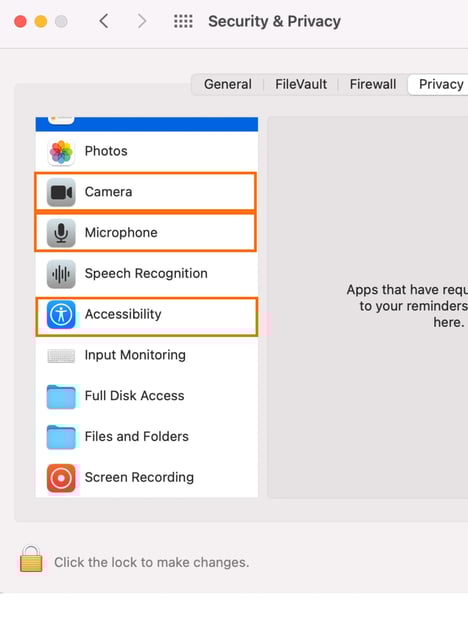
2. Select 'Privacy'.
-jpg.jpeg?width=500&name=T1V%20app%20Set%20up%20settings%20(1)-jpg.jpeg)
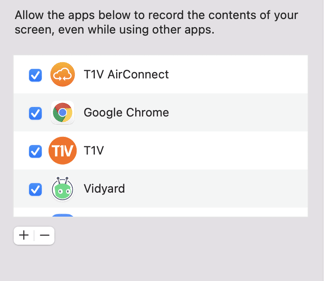
3. From here, navigate to 'Screen Recording' (this will allow you to share your screen to ThinkHub).
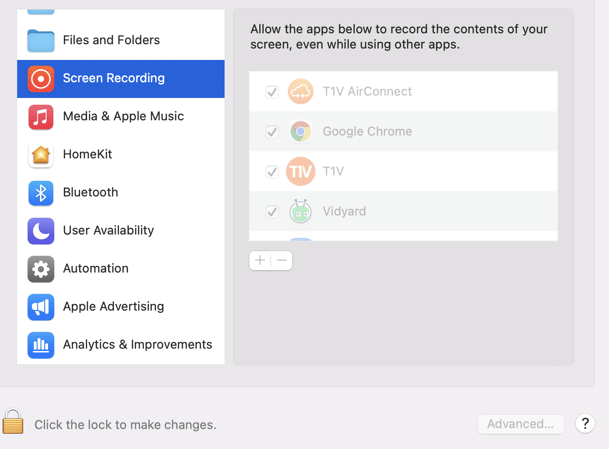
4. Click the lock icon to make changes. You may need to enter your password to continue.
5. Select the box beside T1V. If you don't see T1V, select '+' at the bottom and navigate to T1V.
You now have permission to share your screen in T1V.
Repeat steps 2-4 for the following categories:
Accessibility — allow T1V to access your computer when you toggle on touchcontrol, which allows you or others to control your device from ThinkHub while screen sharing
Camera — allow T1V to access to access your camera for videoconferncing via the T1V app.
Microphone — allow T1V to access to access your microphone for videoconferncing via the T1V app.